The single most common navigation failure on a backpacking trip is not getting lost — it is standing at a junction with a phone that knows exactly where you are but cannot show you a map. GPS works without cell service. Map rendering does not. That gap is what kills trips, and it is entirely preventable if you understand what the phone is actually doing.
The short version
Download the map area for your route plus a buffer before you leave Wi-Fi. Test it in airplane mode at home. Use airplane mode and low power mode on trail. Carry a paper map and a battery bank.
GPS works offline. Map tiles do not.
This is the crucial distinction. GPS is a satellite positioning system. Your iPhone receives signals from GPS satellites orbiting the planet, calculates your position from those signals, and places a blue dot on the screen. That entire process requires zero cell signal and zero data connection. GPS works in airplane mode. It works with zero bars. It works anywhere the phone can see a bit of open sky.
What GPS cannot do is show you what is around that blue dot. The map background — roads, trails, topographic contours, lakes, peaks — is made of map tiles, which are pre-rendered images stored on a server somewhere. Your mapping app downloads those images and stitches them together behind your location dot. That download requires a data connection, and when there is no connection, there are no tiles.
That is why people on a trail with no signal see a blue dot floating on a featureless grey screen. The phone knows where they are. It just cannot show them where "where" is.
The solution: pre-download the tiles
The fix is simple: download the map tiles ahead of time while you still have Wi-Fi. Most modern trail and backcountry navigation apps let you select a map region, download it, and store it on the phone. Then the app uses the saved tiles instead of trying to download them. GPS positions you, the stored tiles render around you, and navigation works exactly as it would with full signal.
The trick is knowing what to download and how much storage it will take.
Download your route plus a buffer zone
Do not download only the trail you plan to walk. Download the area around it — the bail-out routes, the side trails, the junctions you might explore, and the places you might end up if you take a wrong turn.
A sensible buffer is two to three miles in every direction from your route. If the trail is 15 miles long, download a corridor that is at least four to six miles wide. If you are doing a loop, download the entire loop plus margin. If you are doing a point-to-point traverse, download from the trailhead to the exit plus the roads on both ends in case you need to walk out to a different pickup spot.
What the buffer is for
- Side trails and alternates. A storm moves in, and you cut the trip short via a different trail.
- Navigation errors. You miss a junction and walk half a mile off-route before you notice.
- Bail-outs. Someone twists an ankle on day two, and you need to navigate to the nearest road or trailhead.
- Exploration. You see a lake a mile off trail and want to check if there is a way down.
The cost of downloading too little is standing somewhere with no map and no options. The cost of downloading a bit extra is a few hundred megabytes. Always choose the margin.
Doing this in GoVenture
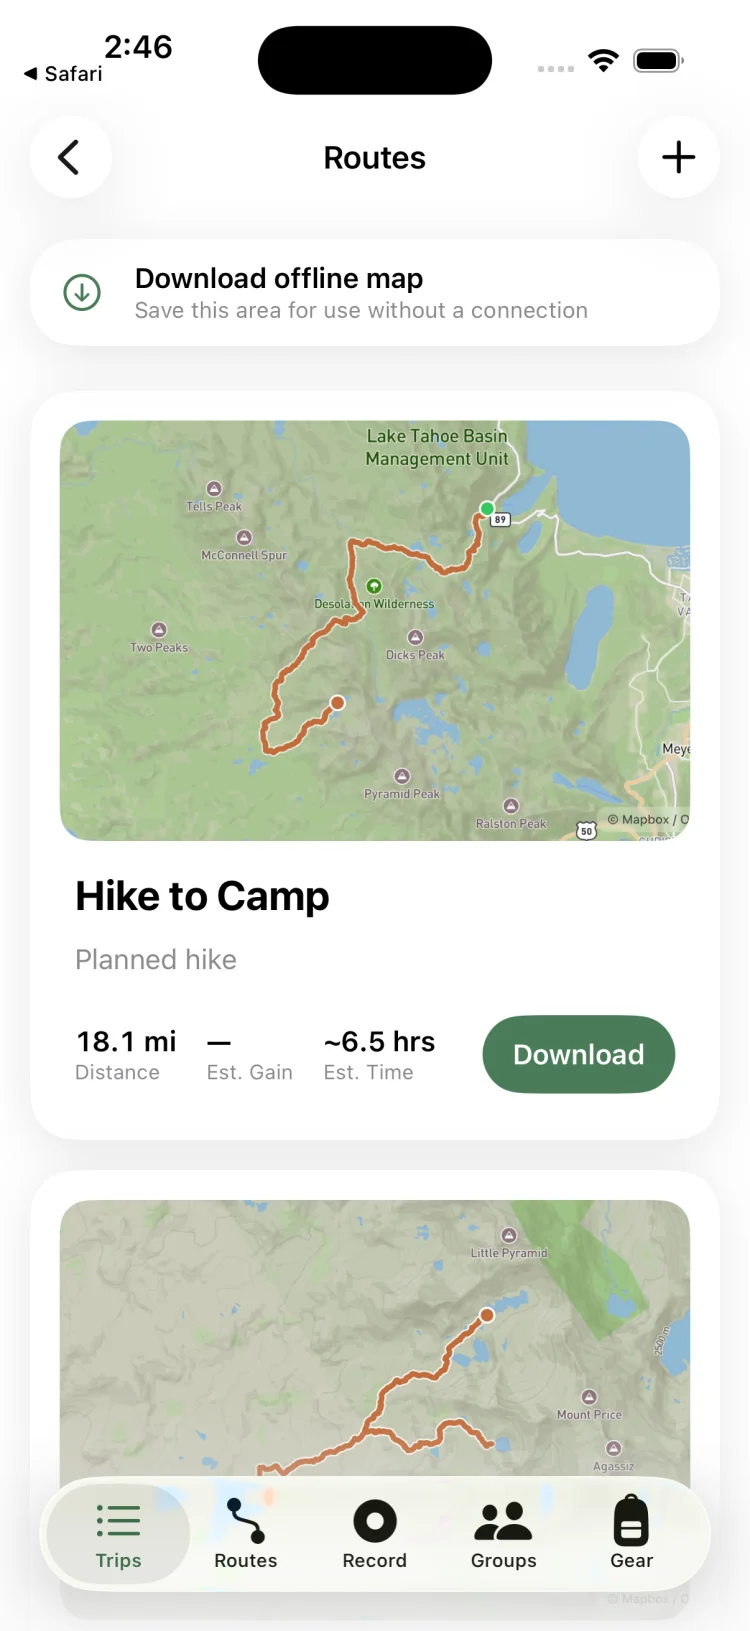
Download offline map regions tied to your trip route:
- Open your trip and go to the Routes tab.
- Tap Download offline maps and adjust the region boundary to cover your route plus a buffer zone.
- Choose your zoom level — higher zoom means more detail and more storage.
- Download the region while on Wi-Fi. GoVenture shows download progress and storage size.
- The offline map stays attached to the trip and works with GPS navigation in the field.
Zoom levels vs storage size
Map tiles exist at multiple zoom levels. A low zoom shows a large area with little detail — state or county scale. A high zoom shows a small area with high detail — individual trail switchbacks, contour lines every 40 feet, individual buildings. The higher the zoom you download, the more tiles you need, and the more storage the download consumes.
For backcountry hiking, you want enough zoom to see trail junctions, contour lines, and waypoints clearly, but not so much that you are carrying gigabytes of data for features you will never use. Most trail apps default to a sensible middle zoom that balances detail and file size.
Typical storage sizes for offline hiking maps
| Area coverage | Zoom level | Approximate size |
|---|---|---|
| 10-mile trail with 3-mile buffer | Medium detail | 200–400 MB |
| 30-mile loop with margin | Medium detail | 500–800 MB |
| Large wilderness area (100+ sq mi) | High detail | 1–3 GB |
Most iPhones have at least 64 GB of storage, often much more. A few offline map regions will not fill the phone. The constraint is usually download time and whether you remember to do it before you leave signal, not storage capacity.
After the trip, delete the offline map region to reclaim the space. You can always re-download it later if you go back.
Battery strategy for offline navigation
GPS uses power. The screen uses power. But a phone with offline maps and sensible settings will easily last a full day of navigation, and often two or three days with a battery bank. The key is stopping the phone from wasting energy hunting for a cell tower that does not exist.
Enable airplane mode with location services on
This is the single most effective battery trick. Turn on airplane mode as soon as you leave the trailhead. Airplane mode disables cellular, Wi-Fi and Bluetooth, which stops the phone from continuously scanning for a signal. But GPS is not disabled by airplane mode — you have to turn location services back on manually after enabling airplane mode.
On iPhone: enable airplane mode from Control Center, then go to Settings → Privacy & Security → Location Services and make sure it is on. Your navigation app will now have GPS but no cell radio drain.
Use low power mode
Low power mode reduces background activity, lowers screen brightness, and throttles the processor slightly. It cuts battery consumption by 30–50% with almost no practical impact on navigation. Enable it from Settings → Battery or from Control Center if you have added the toggle.
Lower screen brightness and use shorter auto-lock
The screen is one of the largest power draws. Turn brightness down to the minimum level you can still read in direct sunlight — usually 30–50%. Set auto-lock to 30 seconds or one minute so the screen is not on while the phone is in your pocket. Check the map when you need it, then let it sleep.
Cold weather kills battery capacity
Lithium-ion batteries lose 20–40% of their effective capacity when the temperature drops below freezing. Keep the phone in an interior pocket close to your body, not in the top of your pack or a hip-belt pocket where it is exposed to wind. If the phone shuts down from cold, warm it against your skin and it will usually come back.
Carry a battery bank and size it properly
A 10,000 mAh battery bank will fully recharge most iPhones twice. A 20,000 mAh bank will do it four times. For a weekend trip, 10,000 mAh is plenty if you are using airplane mode and low power mode. For a week-long trip, bring 20,000 mAh or accept that you will ration phone use after day three.
Charge the phone at night in the tent, not during the day on trail. If you are navigating actively, the phone may discharge faster than the battery bank can charge it, and you end up draining both.
Test the download in airplane mode before you leave
This step takes two minutes and prevents the scenario where you discover at the trailhead that the download did not work. Before you leave home:
- Enable airplane mode.
- Open your navigation app and load the route.
- Verify that the map tiles appear — you should see trails, contours, and labels, not a grey screen.
- Zoom in and out to confirm the detail is there at all zoom levels you need.
- Check that your current location shows correctly (it will, because GPS still works).
If the tiles do not appear, the download failed or is incomplete. Re-download the region, or switch to a different offline area that covers your route. Fix it now, not at mile three with no signal.
Carry redundancy: paper map, compass, and backup power
A phone is an excellent navigation tool, but it is not infallible. Screens crack. Batteries die. Software crashes. Water gets in. Always carry a backup.
Paper topographic map and compass
Buy or print a 1:24,000 scale topo map of the area and carry it in a waterproof case. Learn to read it before the trip — how contour lines work, how to orient the map with a compass, how to estimate distances. If the phone dies, the paper map gets you out.
A baseplate compass weighs less than an ounce. You do not need a fancy one. You need to know how to take a bearing and follow it.
A second phone with the same offline maps
If you are going with someone else, both people should download the same offline map region. Two phones mean two chances of navigation working. Assign one as primary and one as backup, and keep the backup off most of the time to save its battery.
Satellite messenger for true emergencies
A satellite messenger like a Garmin inReach or SPOT device can send an SOS and your GPS coordinates to search and rescue even when cell service is nonexistent. They also usually show a basic basemap. They do not replace a real map, but they provide a critical backup communication channel if something goes badly wrong.
What offline maps cannot do
Offline maps are static. They show what was true when you downloaded them, not what is true right now. Here is what stops working without a data connection:
- Live traffic and road conditions. Offline maps show the road, not whether it is open or closed.
- Live weather overlays. Radar, precipitation forecasts, and weather warnings require a data connection.
- Search by name or address. You can navigate to a coordinate or a pre-saved waypoint, but you cannot search for a place name.
- Route recalculation for driving directions. Offline maps will not reroute you if you miss a turn unless the app has offline routing built in, and most do not.
- Satellite or aerial imagery layers. Topo and trail layers work offline; satellite photo layers usually do not.
For backcountry hiking, none of those limitations matter much. You are not driving, you checked the weather before you left, and you already know the trail name and the campsite locations. Offline maps do exactly what you need: show your position on a topo map with trails and contours.
Apple Maps and Google Maps offline: not for backcountry use
Both Apple Maps and Google Maps allow offline downloads. Neither is a good choice for hiking beyond maintained trails.
Apple Maps offline lets you download a region for driving directions and basic points of interest. It does not show trails, it does not show topographic contour lines, and it has no waypoint or coordinate navigation. It works fine for finding your way back to a trailhead parking lot on a road. It does not work for navigating a 20-mile loop in the backcountry.
Google Maps offline is similar. You can save a map area for offline use, and it will show some trails in popular parks, but coverage is inconsistent, there are no topo layers, and you cannot add waypoints or import a GPX track. It is a road navigation tool adapted for offline use, not a trail navigation tool.
Use a purpose-built hiking and trail app with offline topo maps, waypoint support, and GPX import. That is what they are designed for. Apple Maps and Google Maps are not.
See the best trip planning app for hiking comparison for alternatives.
Navigate offline in GoVenture
GoVenture is a free iPhone trip planner with offline topo map downloads, waypoint navigation, and route import. Download the map region for your trip, navigate with GPS in the field, and track your hike with Apple Health integration.
Download on the App Store →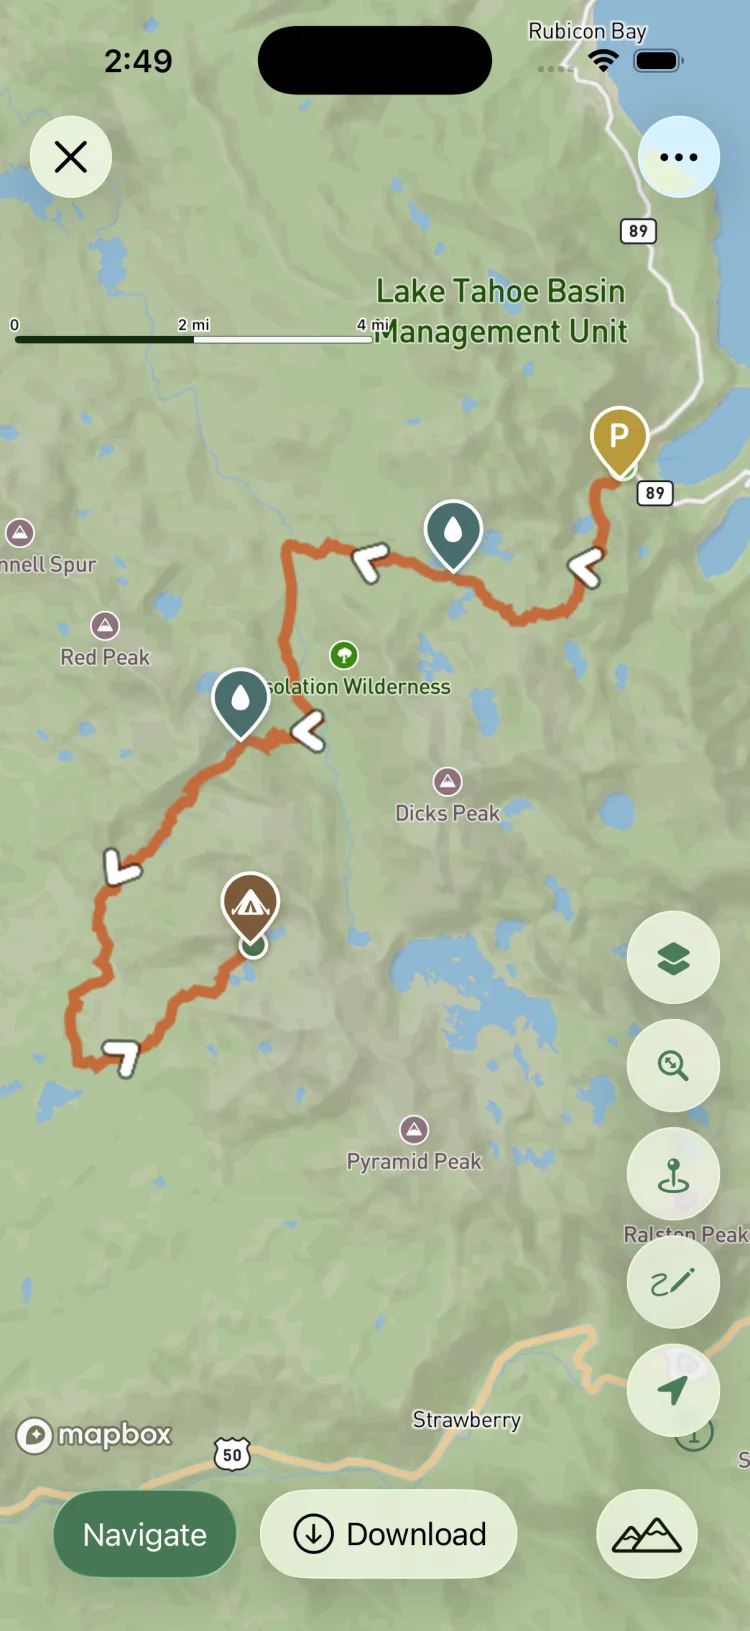
Frequently asked questions
Does GPS work without cell service?
Yes. GPS is satellite-based and does not require cell towers or data connection. Your iPhone can locate you with zero bars. What does not work is downloading map tiles — that is why you see a blue dot on a blank grey screen if you did not download the maps ahead of time.
How much storage do offline hiking maps use?
A typical weekend backpacking route with a buffer zone uses 200 to 800 MB depending on area size and zoom level. A large wilderness area at high zoom can take 1 to 3 GB. Most phones have enough storage for multiple trips if you delete old map regions after each one.
Do offline maps drain battery faster?
Using GPS drains battery, but offline maps are more efficient than live maps because the phone is not constantly downloading tiles or hunting for a cell signal. Enable airplane mode with location services on, use low power mode, and lower screen brightness to extend battery life significantly.
Can Apple Maps or Google Maps work offline for hiking?
Both apps allow offline downloads, but they lack trail detail, topographic layers, waypoints, and backcountry navigation features. They work for road navigation offline, but not for off-trail hiking where you need contour lines, trail markers, and coordinate-based waypoints.