Most people believe iPhone GPS needs cell service to work. It does not. The confusion comes from the fact that map tiles need to be downloaded, but the positioning itself is entirely satellite-based. Once you understand how the system actually works and where the battery drain really comes from, you can record a full day hike without the phone dying halfway up.
The short version
Download offline maps before you leave. Turn on airplane mode at the trailhead. Enable Low Power Mode. Lock the screen. The GPS receiver uses far less power than the cellular modem or the display, so the phone can track for 8+ hours with the screen off.
How iPhone GPS actually works
Every iPhone since the 4S has a GNSS receiver — a chip that listens to radio signals from positioning satellites. GNSS stands for Global Navigation Satellite System, and it is the umbrella term for GPS (United States), GLONASS (Russia), Galileo (European Union), and BeiDou (China). Your iPhone listens to all of them and combines the data to calculate your position.
These satellites orbit at about 20,000 kilometres, and they broadcast their position and a timestamp continuously. Your phone measures how long the signal took to arrive, calculates the distance to each satellite, and triangulates your location from at least four of them. The fourth is needed for the time offset — your phone's clock is not atomic-precision, so the system solves for time as well as position.
This entire process happens without any network connection. The satellites broadcast; they do not receive. Your phone is a passive listener. That is why you can get a position fix in airplane mode, in a dead zone, or halfway across the Pacific with no SIM card.
What about assisted-GPS?
Assisted-GPS (A-GPS) uses the cellular or Wi-Fi network to speed up the first fix. When your phone is connected, it downloads a current almanac — a file containing the expected positions of all the satellites — so it knows roughly where to look in the sky. Without this, the receiver has to search for satellites blind, which can take a few minutes instead of a few seconds.
Once the phone has locked onto satellites, the network does nothing. A-GPS is only an optimisation for the cold start. If you turn the phone off for six hours, turn it back on in airplane mode, and the GNSS receiver has stale ephemeris data, it may take 30 seconds to two minutes to acquire a fix. If you left it in airplane mode the whole time and it never lost satellite lock, it is near-instant.
This is why the advice to "download offline maps" works — the positioning does not need the network; only the map imagery does. Your blue dot will appear on the map even with zero bars, as long as the tiles are already on the phone.
GPS accuracy: what to expect on the trail
Under open sky with good satellite visibility — think a high alpine meadow or a wide riverbed — horizontal GPS accuracy on an iPhone is typically 3 to 5 metres. That is good enough to distinguish which side of a narrow trail you are on.
In the real world, trees and canyon walls degrade that. Dense forest can reduce accuracy to 10 to 30 metres, and steep-walled canyons or slot canyons can push it to 50 metres or intermittent loss of fix entirely. The two mechanisms are multipath (signals bouncing off rock or foliage before reaching the receiver, creating false distance measurements) and sky obstruction (the receiver can only see two or three satellites instead of eight or ten).
Elevation accuracy is worse. GPS-derived altitude has an error of roughly 1.5 to 2 times the horizontal error because of how the satellite geometry works — the constellation is optimised for horizontal positioning, not vertical. If you see 5 metres of horizontal error, expect 8 to 12 metres of vertical error.
Most hiking apps smooth the elevation data to make cumulative gain figures less noisy, but they do it differently. Gaia GPS and GoVenture use barometric altitude from the phone's pressure sensor when available (iPhone 6 and later), which gives much cleaner elevation profiles. AllTrails historically relied more on GPS-derived elevation. That is why two people on the same hike can finish with different total elevation gain figures — they are using different sensors and different smoothing.
Barometric altitude
The barometric altimeter in the iPhone measures air pressure and converts it to elevation. It is more accurate than GPS for relative altitude changes — going up 500 feet of switchbacks — but it drifts with weather. A pressure drop from an incoming storm looks like a climb. Most apps calibrate the barometer to GPS altitude periodically to correct for drift.
Background location permissions: Always vs While Using
iOS gives you two location permission levels: While Using the App and Always. For GPS tracking to work when the screen is off, you need to grant Always permission.
When you first open GoVenture and start a recording, iOS will prompt you. If you select "While Using", the app can only track when it is on screen. The moment you lock the phone or switch to another app, recording pauses. That is fine for a workout you are watching in real time, but useless for a six-hour hike where the phone is in your pocket.
Grant "Always" permission, and the app can record in the background. You will see a blue bar at the top of the screen when background location is active, or a blue pill on newer iPhones with the Dynamic Island. This is deliberate and visible — Apple wants you to know when an app is using location while not on screen.
How to change location permissions later
If you initially chose "While Using" and want to upgrade: Settings → Privacy & Security → Location Services → GoVenture → Always. You can revoke it the same way. Background location is a battery and privacy trade-off, and you have full control.
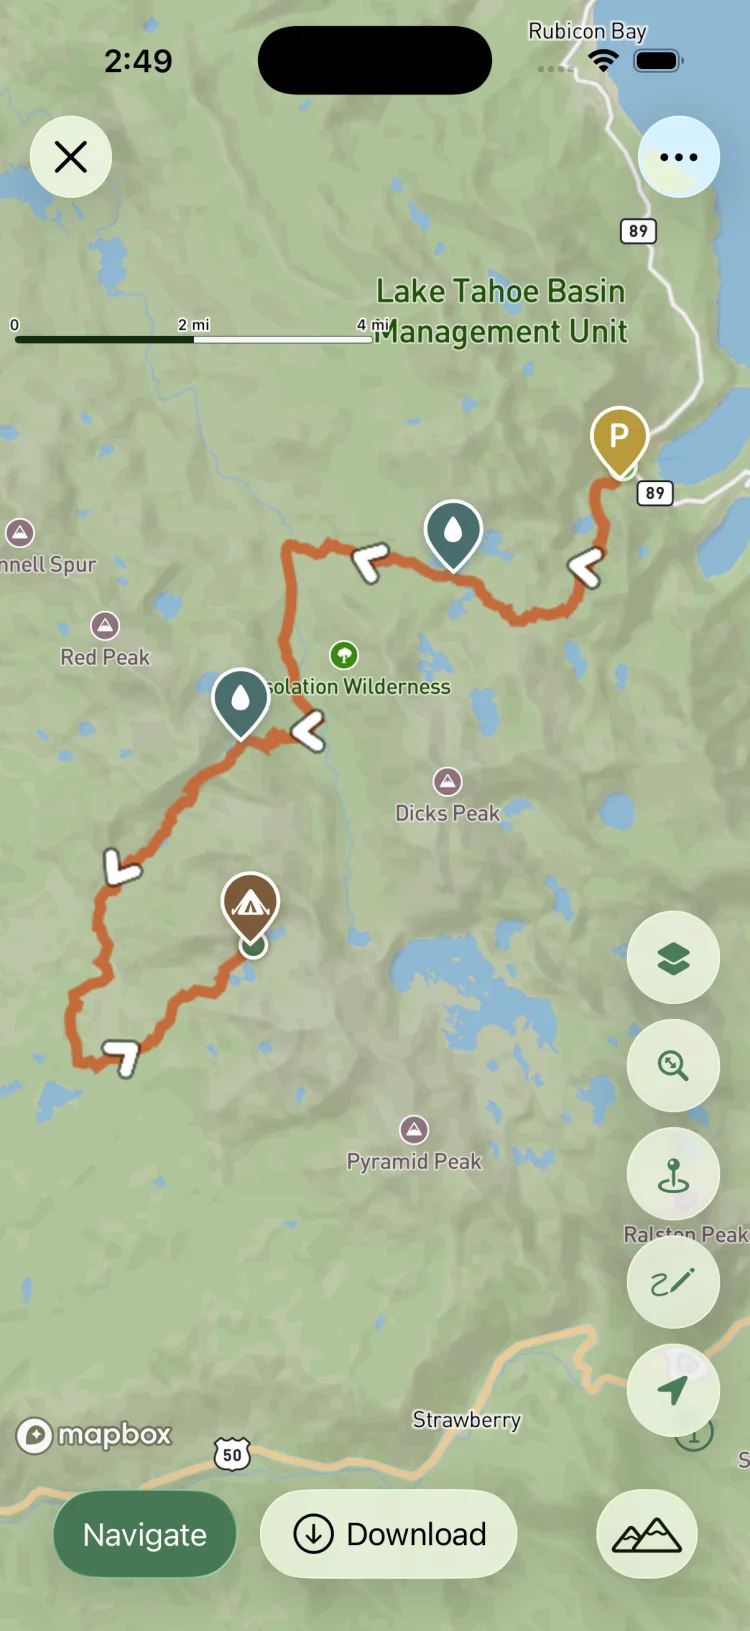
Battery drain: where it really comes from
The common belief is that GPS kills the battery. It does not — the screen does. The GNSS receiver in an iPhone draws roughly 20 to 40 milliwatts when actively tracking. The display, even at half brightness, draws 500 to 1,200 milliwatts depending on what is on screen. Do the maths: the screen uses ten to thirty times more power than the GPS chip.
The second-biggest drain is the cellular modem. When the phone has no signal or a weak signal, the modem increases transmit power trying to reach a tower. In a remote canyon or on a ridge with no coverage, the modem can sit there burning 200 to 400 milliwatts for nothing. That is why airplane mode helps — it shuts the modem off entirely.
With the screen off and airplane mode on, an iPhone running a GPS tracking app in the background consumes roughly 100 to 150 milliwatts total. That includes the GNSS receiver, the processor running the app, and the pressure sensor if the app is logging barometric altitude. At that rate, a phone with a 3,200 mAh battery at 3.8 volts (about 12 watt-hours usable capacity) can track for 8 to 12 hours on a single charge.
Cold weather and battery capacity
Lithium-ion batteries lose capacity in the cold. At 0°C, expect the battery to deliver only 60 to 70% of its rated capacity. At -10°C, that drops to 40 to 50%. In winter or at altitude, keep the phone in an inside pocket close to your body rather than in a pack outside pocket. If the phone shuts down from cold, warming it back up will restore the remaining charge.
Battery bank sizing
A 10,000 mAh battery bank at 3.7 volts nominal is about 37 watt-hours, but conversion losses mean you get roughly 25 to 28 watt-hours delivered to the phone. An iPhone 14 Pro has a 12 watt-hour battery; a 15 Pro Max about 17 watt-hours. So a 10,000 mAh bank gives you two to three full phone charges. That is enough for a weekend trip with nightly top-ups, or to recover from a cold-weather shutdown mid-hike.
For a week-long trek, you need either a 20,000+ mAh bank or a solar panel, and you need to be religious about keeping the screen off and the phone in airplane mode except when actively navigating.
Settings checklist before you start recording
Do this at the trailhead, not two hours in when the battery is at 40%:
- Turn on airplane mode. Swipe down from the top right (or up from the bottom on older iPhones) and tap the airplane icon. This kills the cellular modem and stops the phone hunting for towers.
- Enable Low Power Mode. Settings → Battery → Low Power Mode, or ask Siri. This reduces background activity, lowers screen brightness slightly, and throttles the processor. It can extend battery life by 20 to 40% on a long hike.
- Reduce screen brightness. You do not need full brightness on the trail. Drop it to 30–40% manually, or rely on auto-brightness if you trust it.
- Close unnecessary apps. Swipe up from the bottom (or double-click the home button) and close anything you are not using. A navigation app running in the background with "Always" permission is fine; twenty browser tabs are not.
- Turn off Background App Refresh for other apps. Settings → General → Background App Refresh → Off for everything except the app you are using to track. This stops other apps waking up the processor.
With those settings, you can record a 10 to 12 hour hike and still have 20–30% battery at the end, assuming you are not pulling the phone out every ten minutes to take photos or check the map.
Doing this in GoVenture
Record a hike and turn it into a saved route:
- Grant Always location permission when prompted, or set it in Settings → Privacy & Security → Location Services → GoVenture.
- Before the trailhead, download the offline map region for your route in the Routes tab.
- At the trailhead, open the Record tab and tap Start — the app begins logging your GPS track in the background.
- Lock the screen and put the phone away. The recording continues even with the screen off.
- At the end, tap Stop, review the distance and elevation stats, then save it as a route you can use for navigation next time.
- The recording syncs to Apple Health as a hiking workout with distance, duration and calories.
Starting a recording: what to check first
Before you tap "Start", verify you have a GPS fix. Most apps show accuracy in the corner — if it says "Accuracy: 50m" or worse, wait. The phone may still be acquiring satellites, or you are standing under heavy tree cover. Walk into a clearing, wait 30 seconds, and check again. Starting a recording with poor accuracy means the first few hundred metres of your track will be noisy and may show you zig-zagging off the trail.
If you are using GoVenture, the map view shows your current position with a blue dot. If the dot is jumping around or the circle around it is huge, the fix is not stable. Wait until the circle shrinks to roughly 10 metres or less, then start.
Pause vs stop
Most apps let you pause a recording when you take a long break. Pausing stops new GPS points being added but keeps the session open, so when you resume it continues the same track. If you stop the recording, you end the session — you cannot add to it later.
Use pause for lunch, for a half-hour side trip you do not want logged, or when you are stuck waiting for someone. Use stop when you are done for the day. Leaving a recording paused overnight is asking for a dead battery — the app is still holding the GPS lock, just not writing new points.
Saving and reviewing the track
When you stop the recording, the app shows you summary stats: total distance, moving time, total time, elevation gain and loss, average pace. Check these immediately — if the distance is wildly wrong or the elevation gain is 10,000 feet on a flat trail, something went wrong with the GPS or the sensors.
Most apps let you save the recording as a route or export it as a GPX file. Saving as a route means you can load it for navigation next time — useful if you want to reverse the hike or share it with a friend. Exporting as GPX gives you a backup you can import into another app, upload to a website, or archive.
Apple Health integration
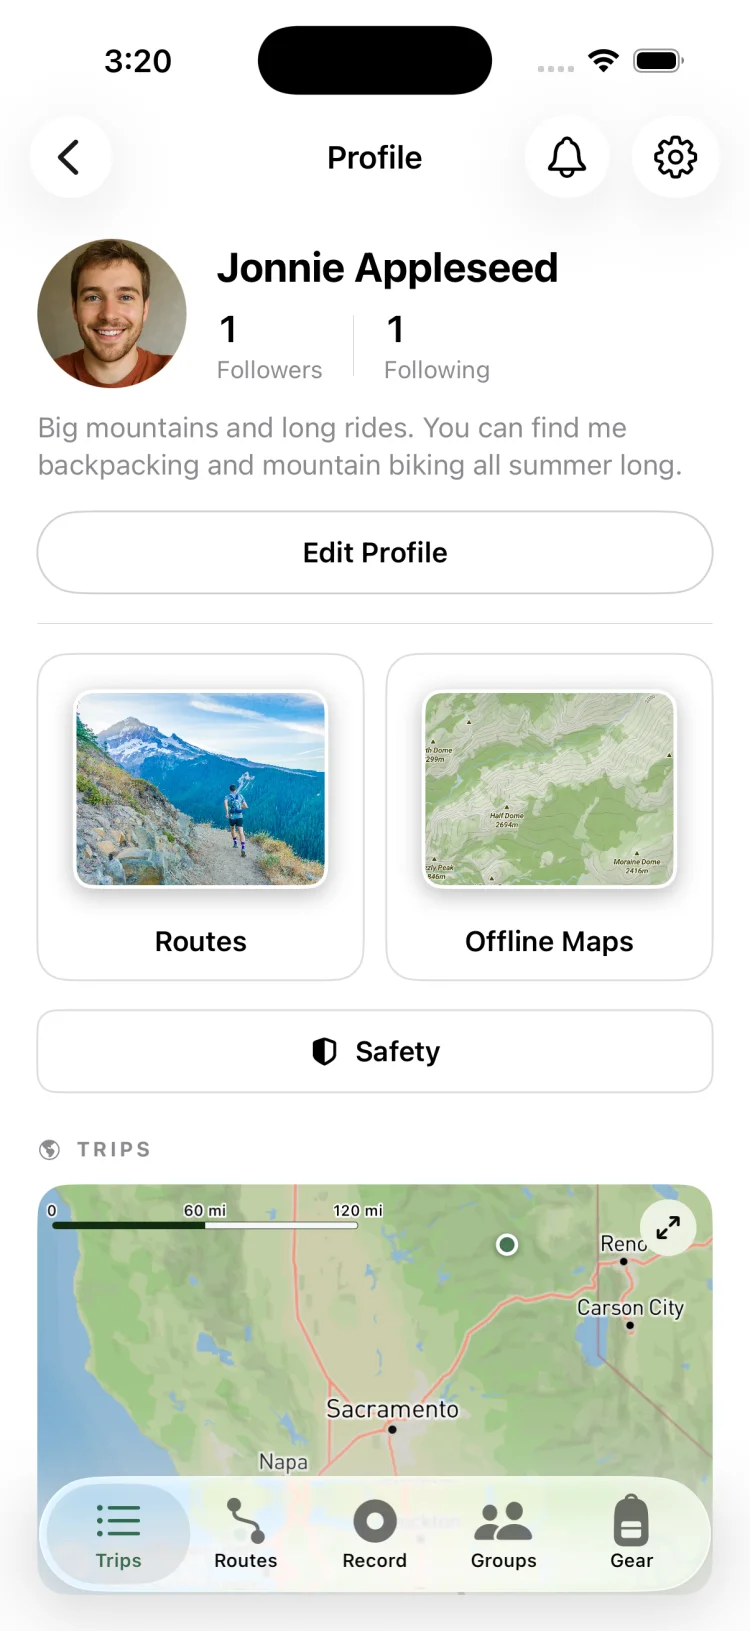
GoVenture and most tracking apps write the recording to Apple Health as a hiking or walking workout. Health stores the distance, duration, route (if the app provided it), and estimated active calories. If you use a fitness tracker or another health app, the workout data syncs automatically. You can disable this in Settings → Privacy & Security → Health → GoVenture if you prefer not to log it.
When a dedicated GPS unit still wins
An iPhone is a very capable GPS tracker, but it is not the best tool for every situation. A dedicated handheld GPS — Garmin, Zoleo, or similar — has five advantages:
- Battery life. 15 to 30 hours of continuous tracking on replaceable AA batteries, vs 8 to 12 hours on a phone that you also need for photos, communication and emergencies.
- Ruggedness. Waterproof to IPX7 or better, shock-resistant, usable with gloves. Dropping an iPhone onto granite is expensive; dropping a Garmin eTrex is fine.
- Dedicated controls. Physical buttons and a simple interface that work in rain, with gloves, and when your fingers are numb.
- Satellite messaging. Many handheld units now include two-way satellite communication (inReach, Zoleo) for true off-grid SOS and texting, which an iPhone cannot do unless you have an iPhone 14 or later with Emergency SOS via satellite.
- Replaceable batteries. Carry four AA lithiums and you have 60+ hours of runtime. Carry a 20,000 mAh battery bank for the phone and you have maybe 40 hours, plus the weight of the bank.
That said, most weekend backpackers and day hikers do not need a dedicated unit. The iPhone is good enough for the majority of trips, especially if you are diligent about battery management and you have offline maps. For a thru-hike, a remote traverse, or anything where the phone dying means you have no navigation and no communication, bring a dedicated GPS or a satellite communicator.
The detailed breakdown of when to use which tool is in the best trip planning app comparison.
Track and plan in one app
GoVenture combines GPS recording with trip planning, so the track you record today becomes the route you navigate tomorrow. Free on iPhone with unlimited trips, day-by-day itineraries, gear lists and group planning. Pro unlocks route drawing, unlimited gear lists, offline maps and extra map styles.
Download on the App Store →Frequently asked questions
Does iPhone GPS work without cell service?
Yes. iPhone GPS uses satellite positioning (GNSS) and does not require a cell tower or Wi-Fi to locate you. The phone receives signals directly from GPS, GLONASS, Galileo and sometimes BeiDou satellites, so you get an accurate position even with zero bars. Assisted-GPS uses the network only to speed up the first fix by a few seconds; after that the receiver works completely offline. Put the phone in airplane mode to prevent the cellular modem hunting for towers and draining the battery.
How accurate is iPhone GPS for hiking?
Under open sky, expect 3 to 5 metres of horizontal accuracy. In dense forest or steep canyons, accuracy degrades to 10 to 30 metres because of multipath reflections and obstructed satellite visibility. Elevation from GPS alone is less reliable — a barometric altimeter gives better vertical accuracy, and that is why elevation gain figures differ between apps that use different sensors or smoothing algorithms.
Does recording a hike drain the iPhone battery?
The GPS receiver itself is efficient — the screen is the biggest drain. With the screen off, airplane mode on and Low Power Mode enabled, an iPhone can record a track for 8 to 12 hours on a single charge. Cold weather can halve battery capacity, so bring a battery bank. A 10,000 mAh bank provides roughly two to three full phone charges, which is enough for a weekend backpacking trip with nightly top-ups.
What is the best app to record a hike on iPhone?
GoVenture records GPS tracks with Apple Health integration and lets you save the recording as a route for future navigation. Other strong options include Gaia GPS for layered topo maps and advanced recording features, and AllTrails for trail discovery combined with basic GPS tracking. Pick based on whether you care more about navigation, trip planning or trail discovery. See the full comparison in the best hiking app guide.